
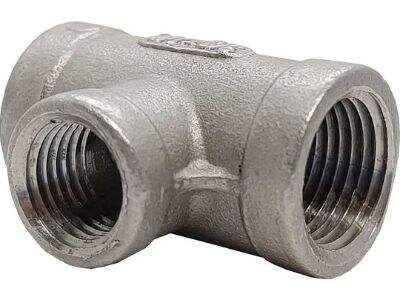
Compression fittings are types of tools that aid you in connecting copper pipes to one another without using a soldering or welding process. Those kinds of fittings are awesome for DIY projects, as they are simple to make use of, and you don't need any special skill or training. Thus, if you are new to the model of pipes, you may still join them!
Picking up the Right Tools and Materials
Before applying copper compression fittings – it’s necessary to ensure all required tools and materials are ready. Here’s a full list of what you’ll need:
Compression fittings (check the size for your pipes)
An adjustable wrench (this tool is used to grip and turn the fittings)
A pipe cutter (this is to cut the pipes to size)
Deburring tool (This tool will smooth out the edges once you cut the pieces)
Pipe wrench (this keeps the pipes still while you work)
With the right tools, you can make your job easier so you can get better results.
Preparing Your Copper Pipes
Preparation of the Copper Pipes Before you can begin the actual installation of the compression fittings on the copper pipes, the pipes should be adequately prepared first. (This is how to do that in a step-by-step way:)
To begin with, use the pipe cutter to reduce the pipe size you need. Cutting the pipe as straight as possible is pretty critical A square cut will aid in the fittings’ and their connections.
Next, use the deburring tool and remove the burrs from the cut pipe. This matters because if they do have rough edges, it may be a little tougher for the compression fittings to secure proper fitment.
At the end of the pipe, clean the ends with a rag. This is to get rid of any dirt or debris that might inhibit a good connection.
How to Install Compression Fittings: A Step-by-Step Guide
With your copper pipes all positioned and ready to go, it’s time for installing the compression fittings. Follow these quick and easy, step-by-step instructions to get it done correctly:
Begin by sliding the compression nut over the pipe, followed by the compression ring. Make sure you have these in the right order.
Then you insert the pipe into the fitting. Insert it until it comes to a halt at the far end, a motion known as “bottoming out.” This implies that the pipe is fully inserted into the fitting.
Now, you can take your adjustable wrench and tighten it. Make it tight but not too tight, though, because that could already damage the fitting.
Start the water and watch the junction for leaks. If you do see any water leaking out, then you will need to turn your compression nut a little further until the leaking is stopped.
Testing for Leaks
Once you have installed the compression fittings on copper pipes, the most critical component is testing for leaks and ensuring secure attachment. Here’s how you can do that:
Step 1: Turn on the water and monitor the connection for leaks. If you see any seepage in the water coming out, give the compression nut a turn or two to tighten it up more until it stops leaking.
If you don’t see any leaks, gently pull on the pipe to check the connection. If pipe stays a still and doesn't move, you have a secure connection.
To sum it up,Sockolet pipe fittings an efficient and straightforward process that anyone can follow if they have the necessary tools and materials. Accessing it is as easy as following this step by step guide. Have fun with your DIY project and good luck with your plumbing!